To register for a self-sponsored learner, follow the steps below:
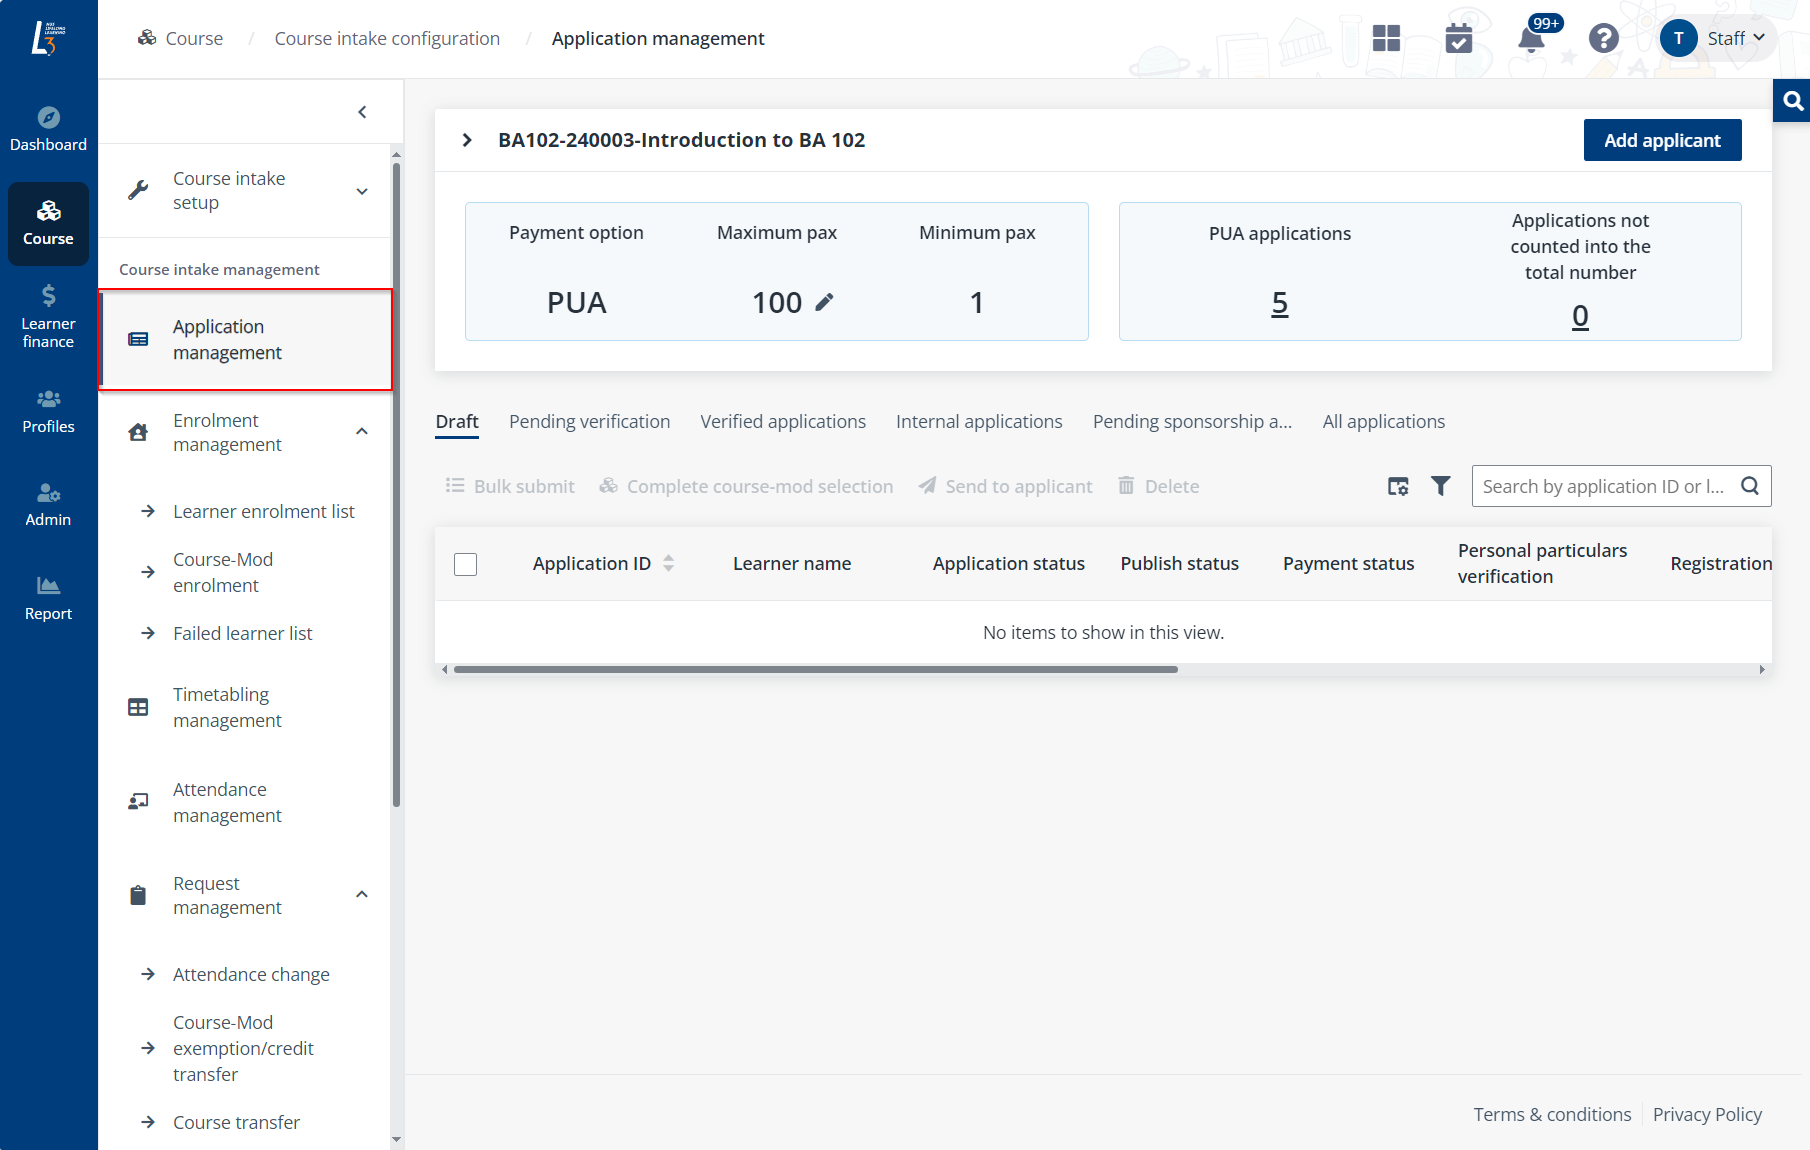
1. Go to Course > Course intake configuration. On the Course intake configuration page, find the course intake to register the learner to.
*Note: The course intake needs to be open for application and a self-sponsored learner can only be registered to public courses. The course can be found by using the Open to and Status filters.
2. Click the course intake No. to go to the course intake details page and click Application management in the left navigation.

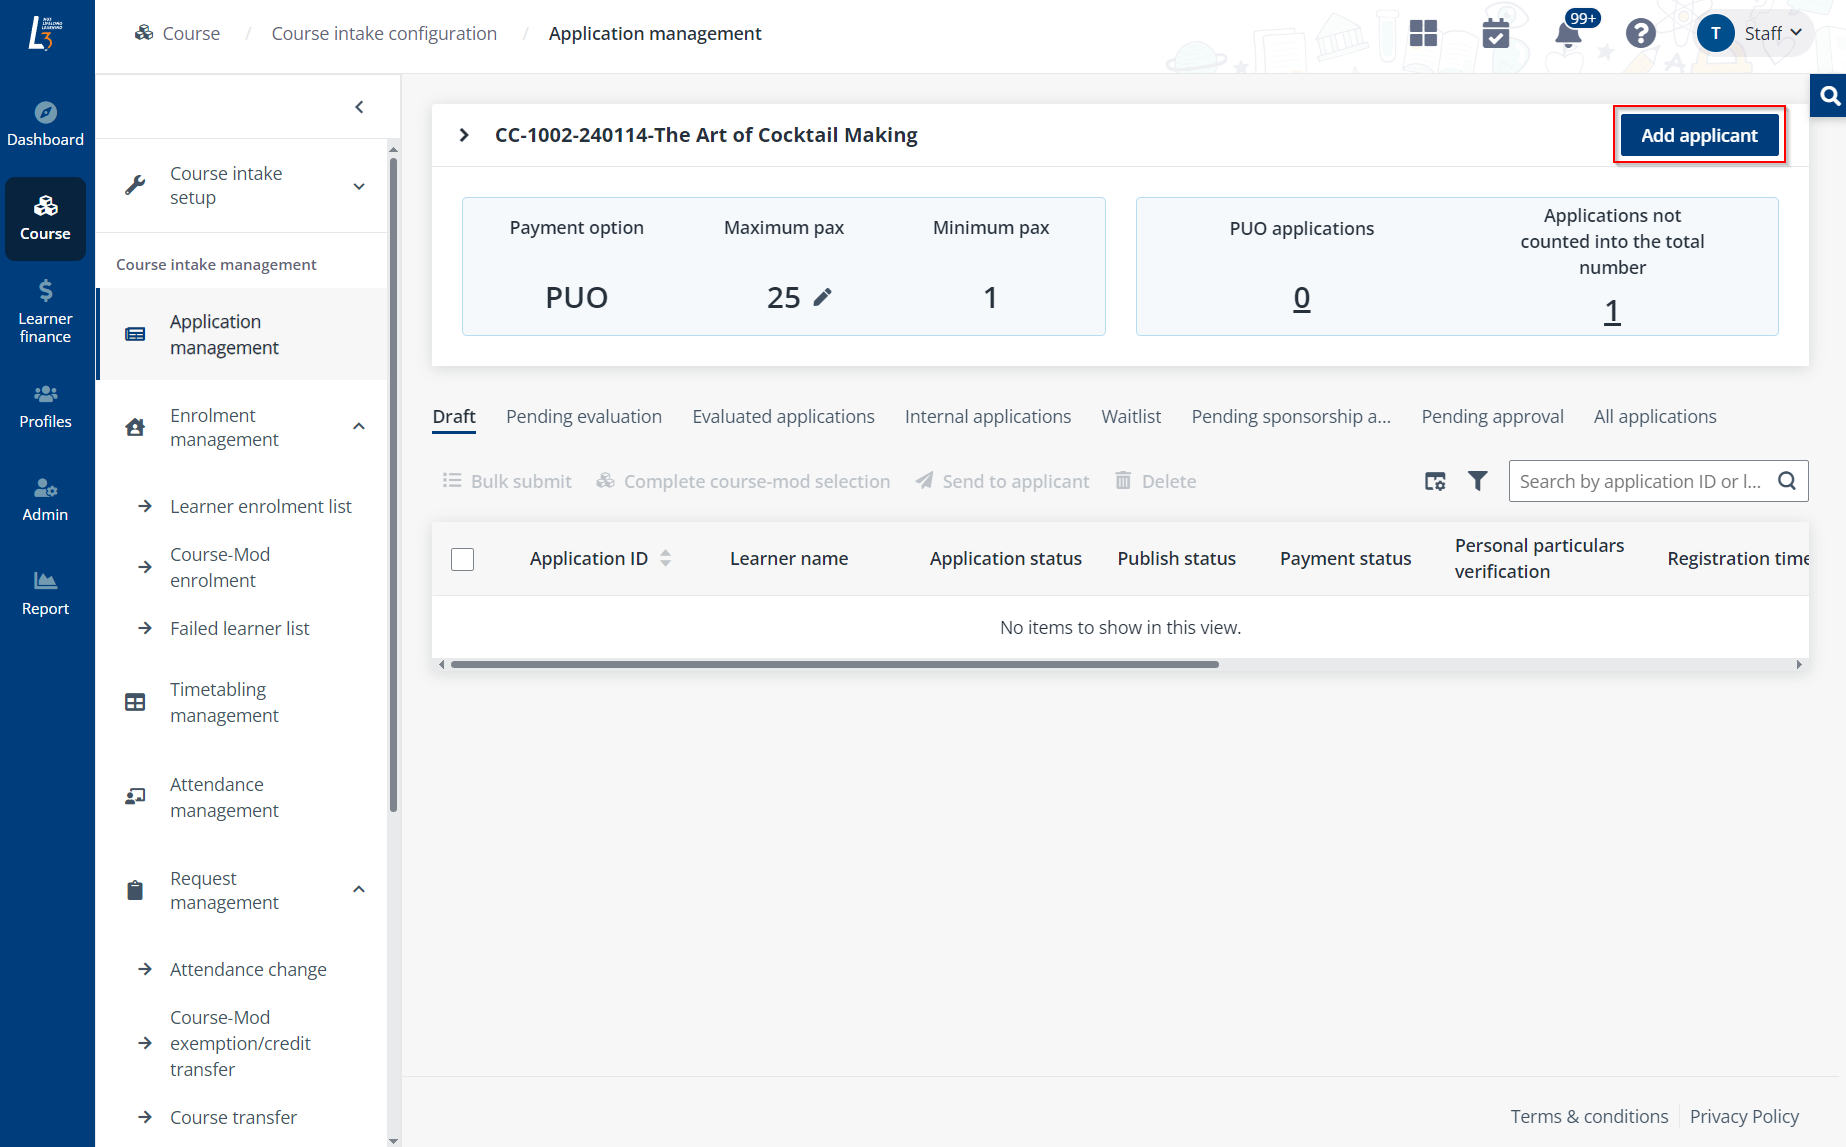
3. On the Application management page, click Add applicant in the top-right.
4. In the Add existing applicant window, click Select a learner if the applicant to register already exists in the system. Click Add new applicants to add new applicants into the system.
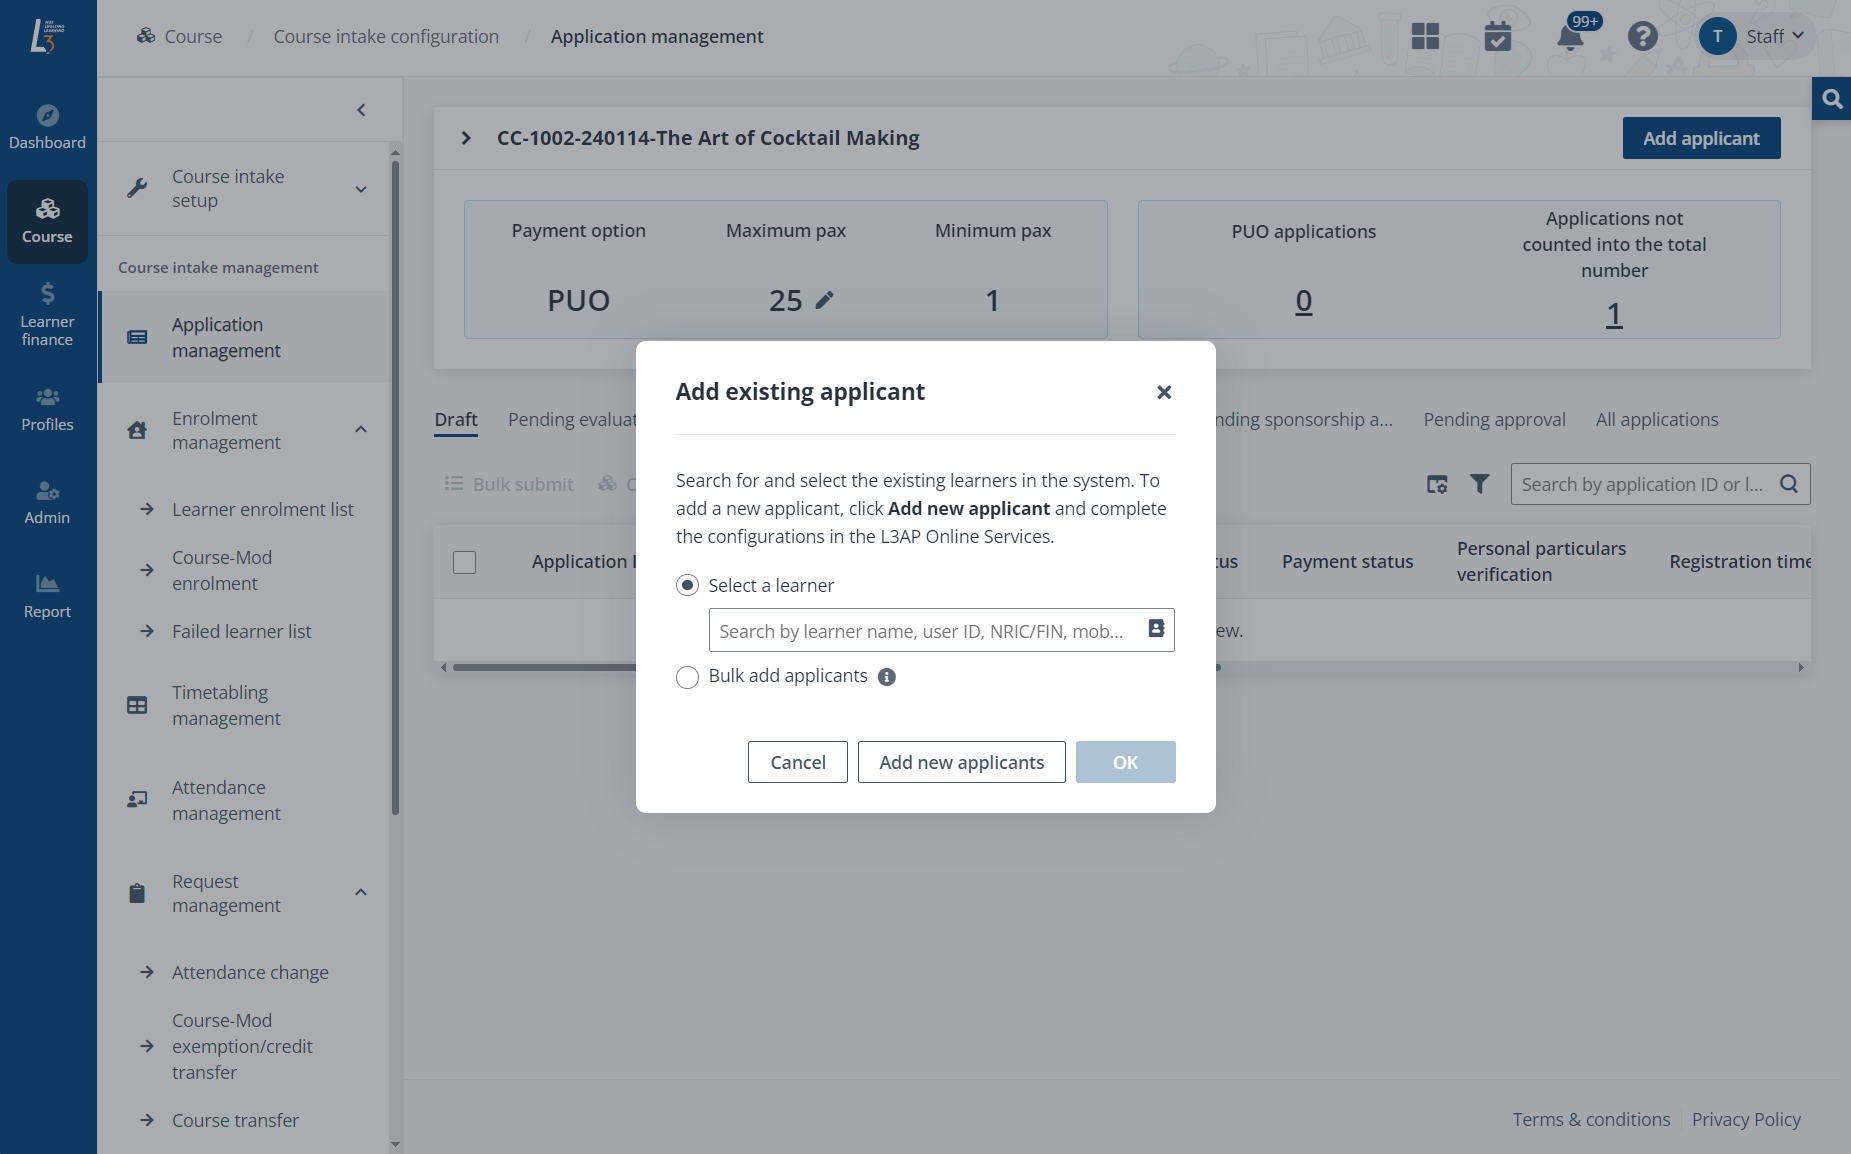
5. Click OK to go to the registration page.
6. In Applicant details, select Self in the Sponsorship type and fill in the required information for the applicant.
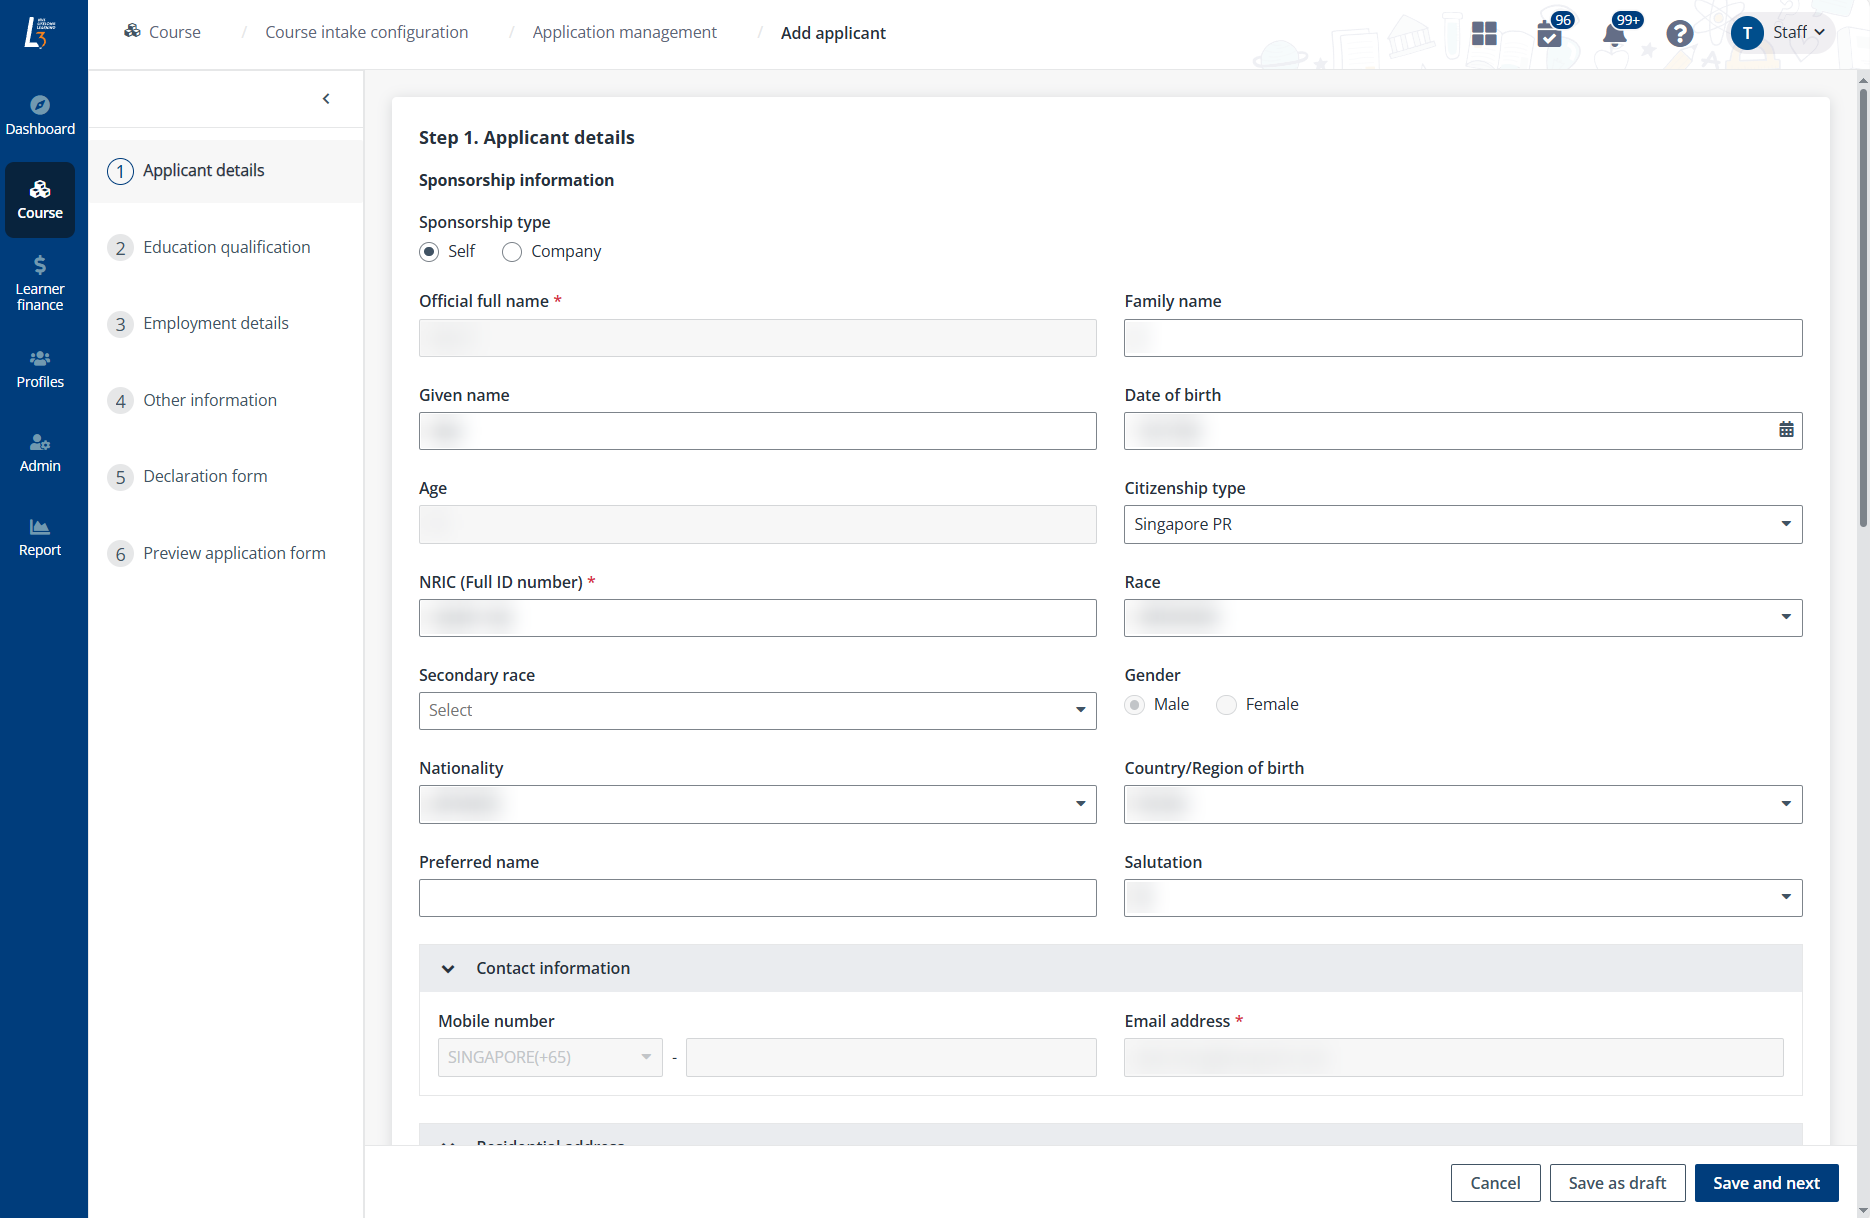
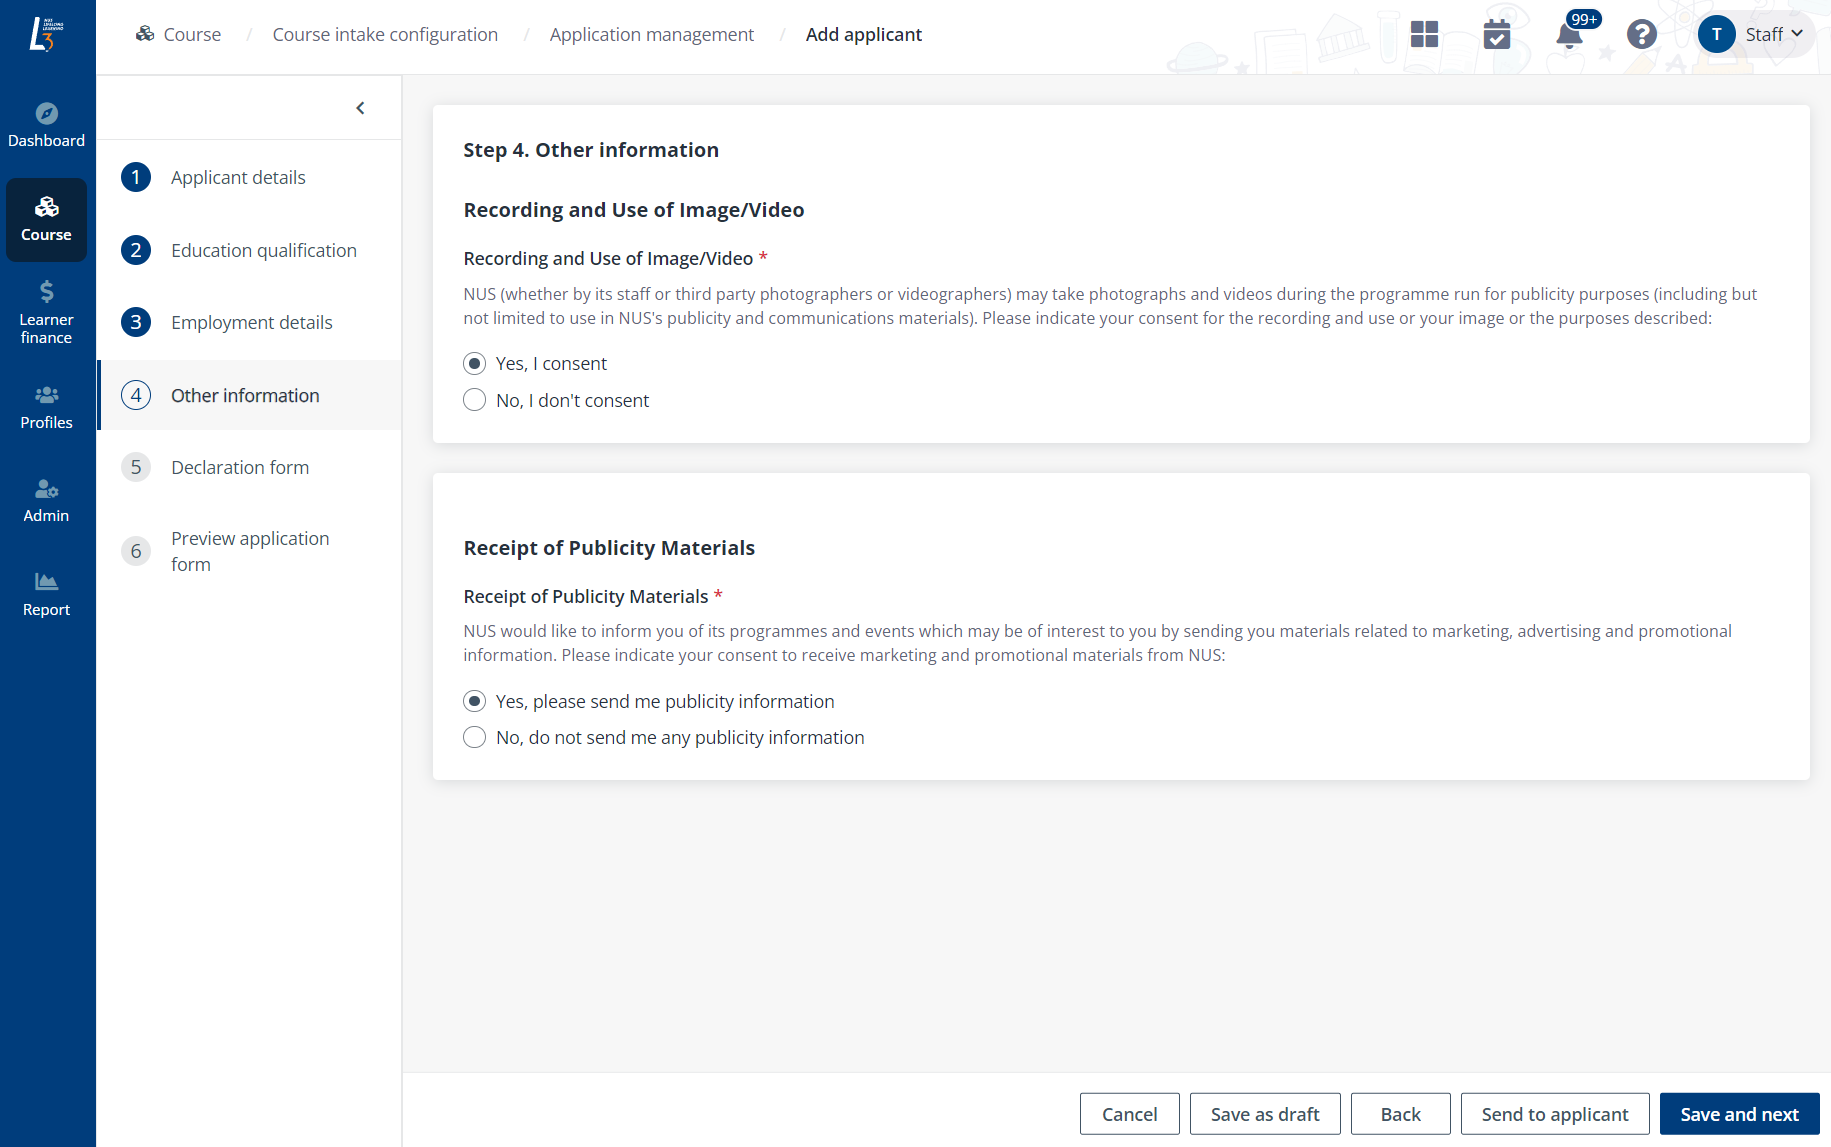
When finished, click Save and next to proceed. If the course requires additional information of the applicant, fill in the required fields in the next Other information step.
7. If the course requires education qualification of the applicant, in the Education intenral step, click Add education qualification or Sync education qualification from my profile to provide the information.
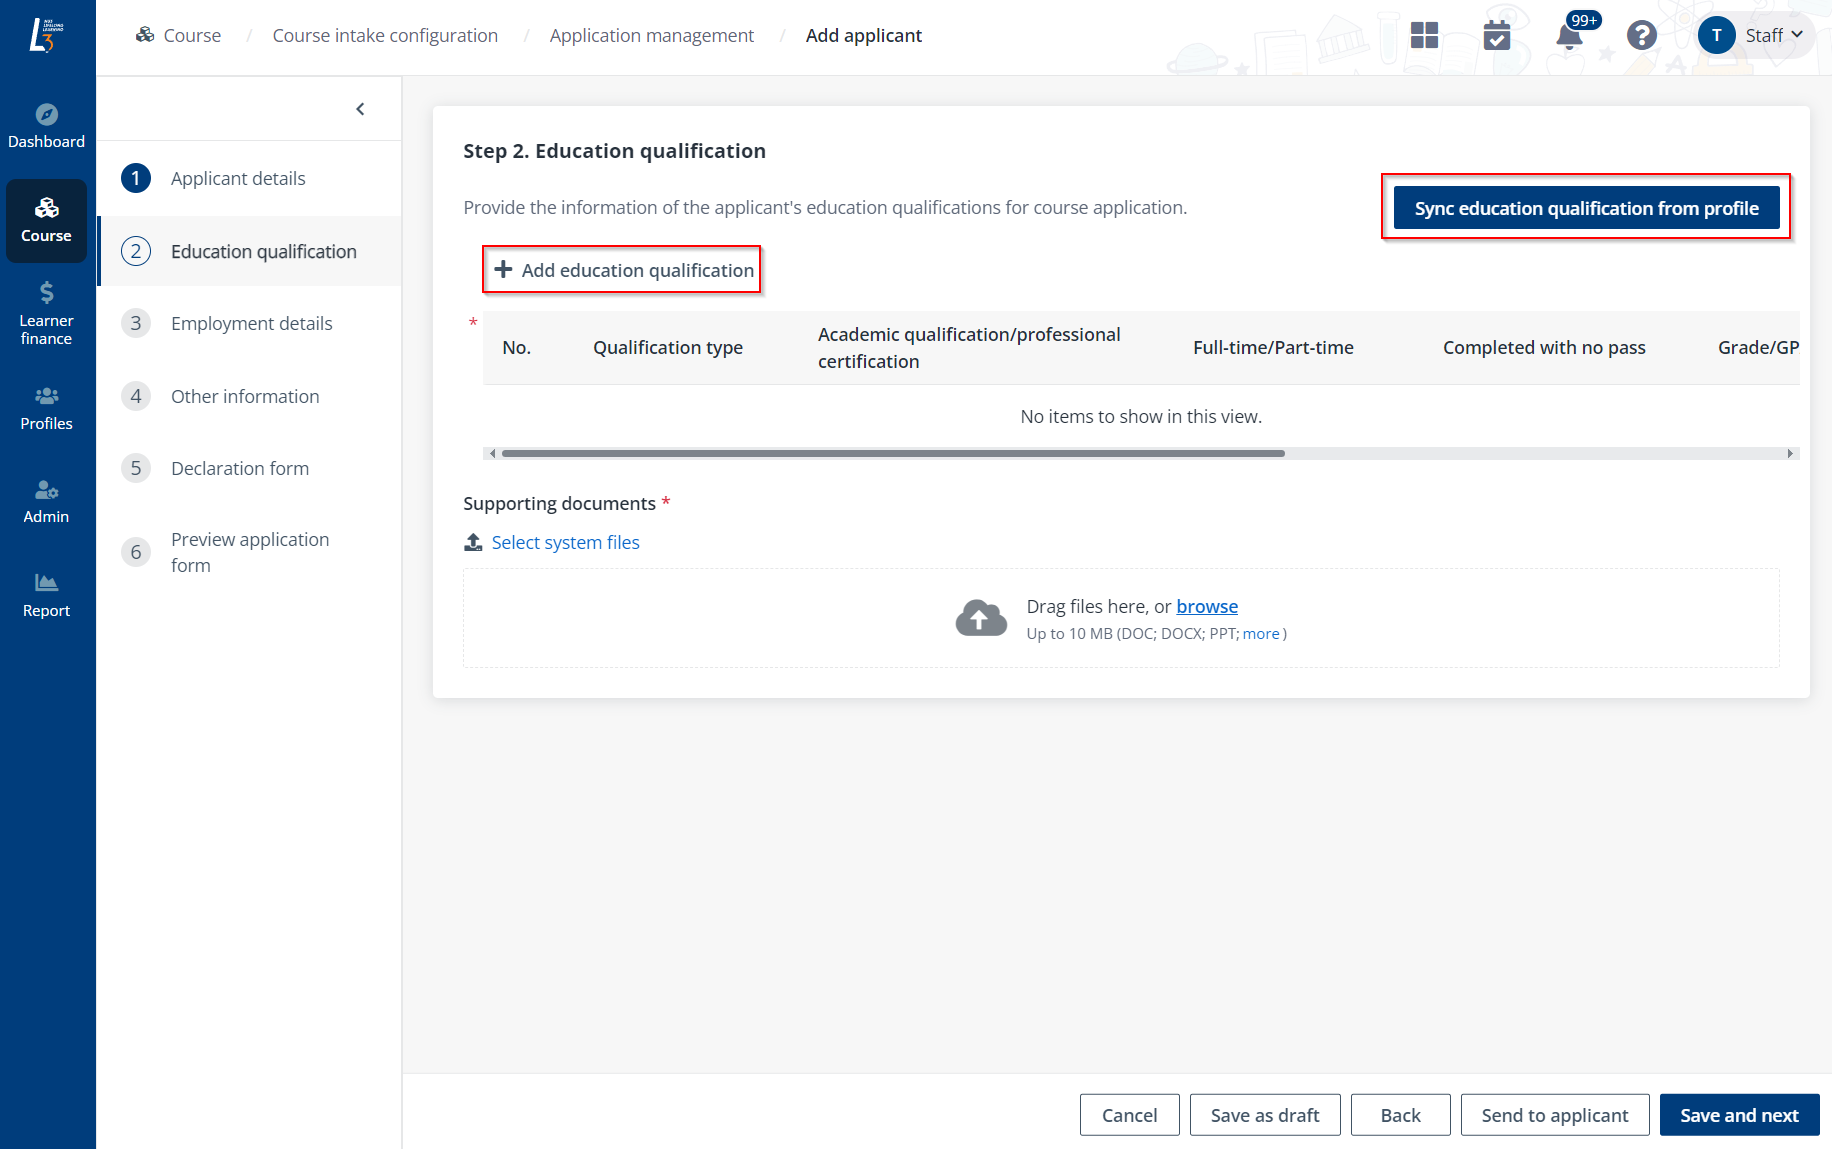
During the registration, if there are any information required to be finished by the applicant, click Send to applicant in the bottom right and the draft application will be sent to the applicant via email.
8. If the course requires employment details of the applicant, in the Employment details step, click Add employment details or Sync employment details from my profile to provide the information.
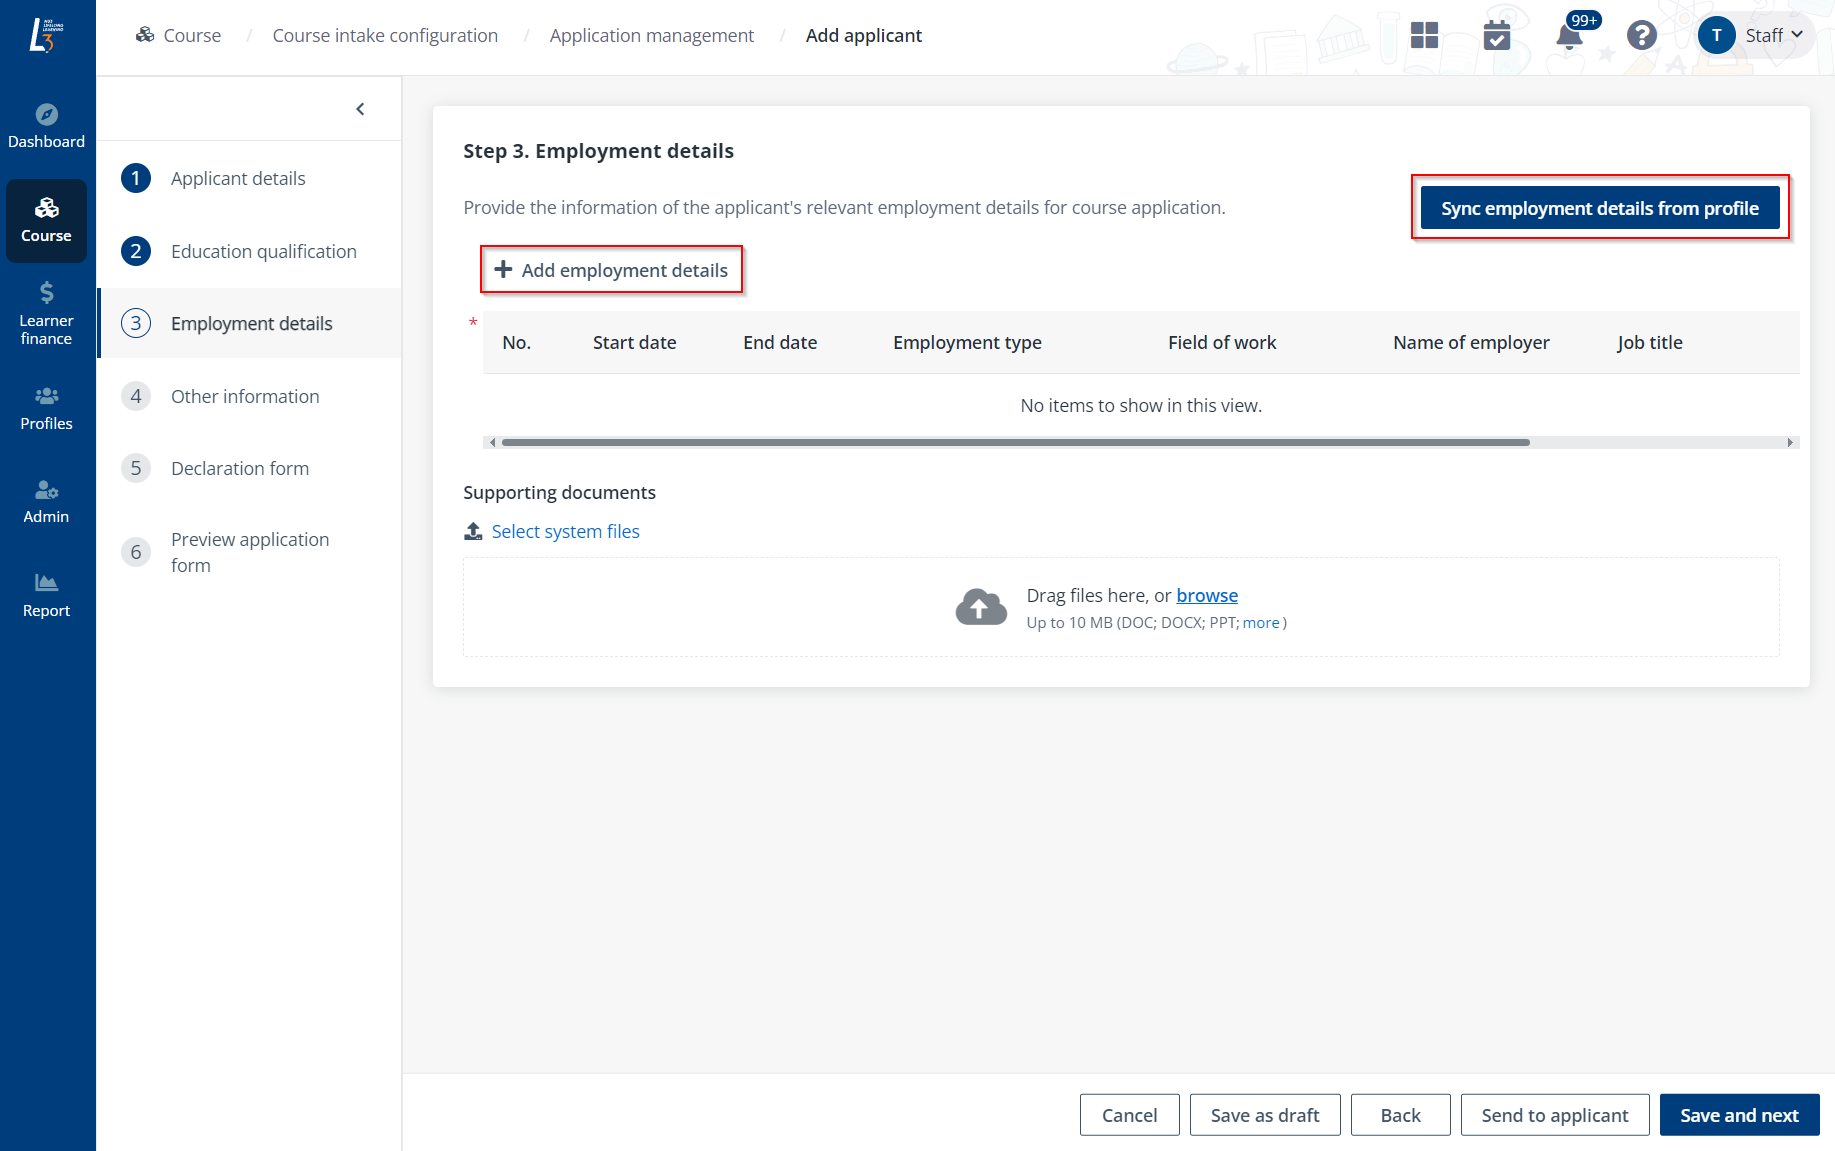
9. In Other information, provide the information required by the course if there is any.
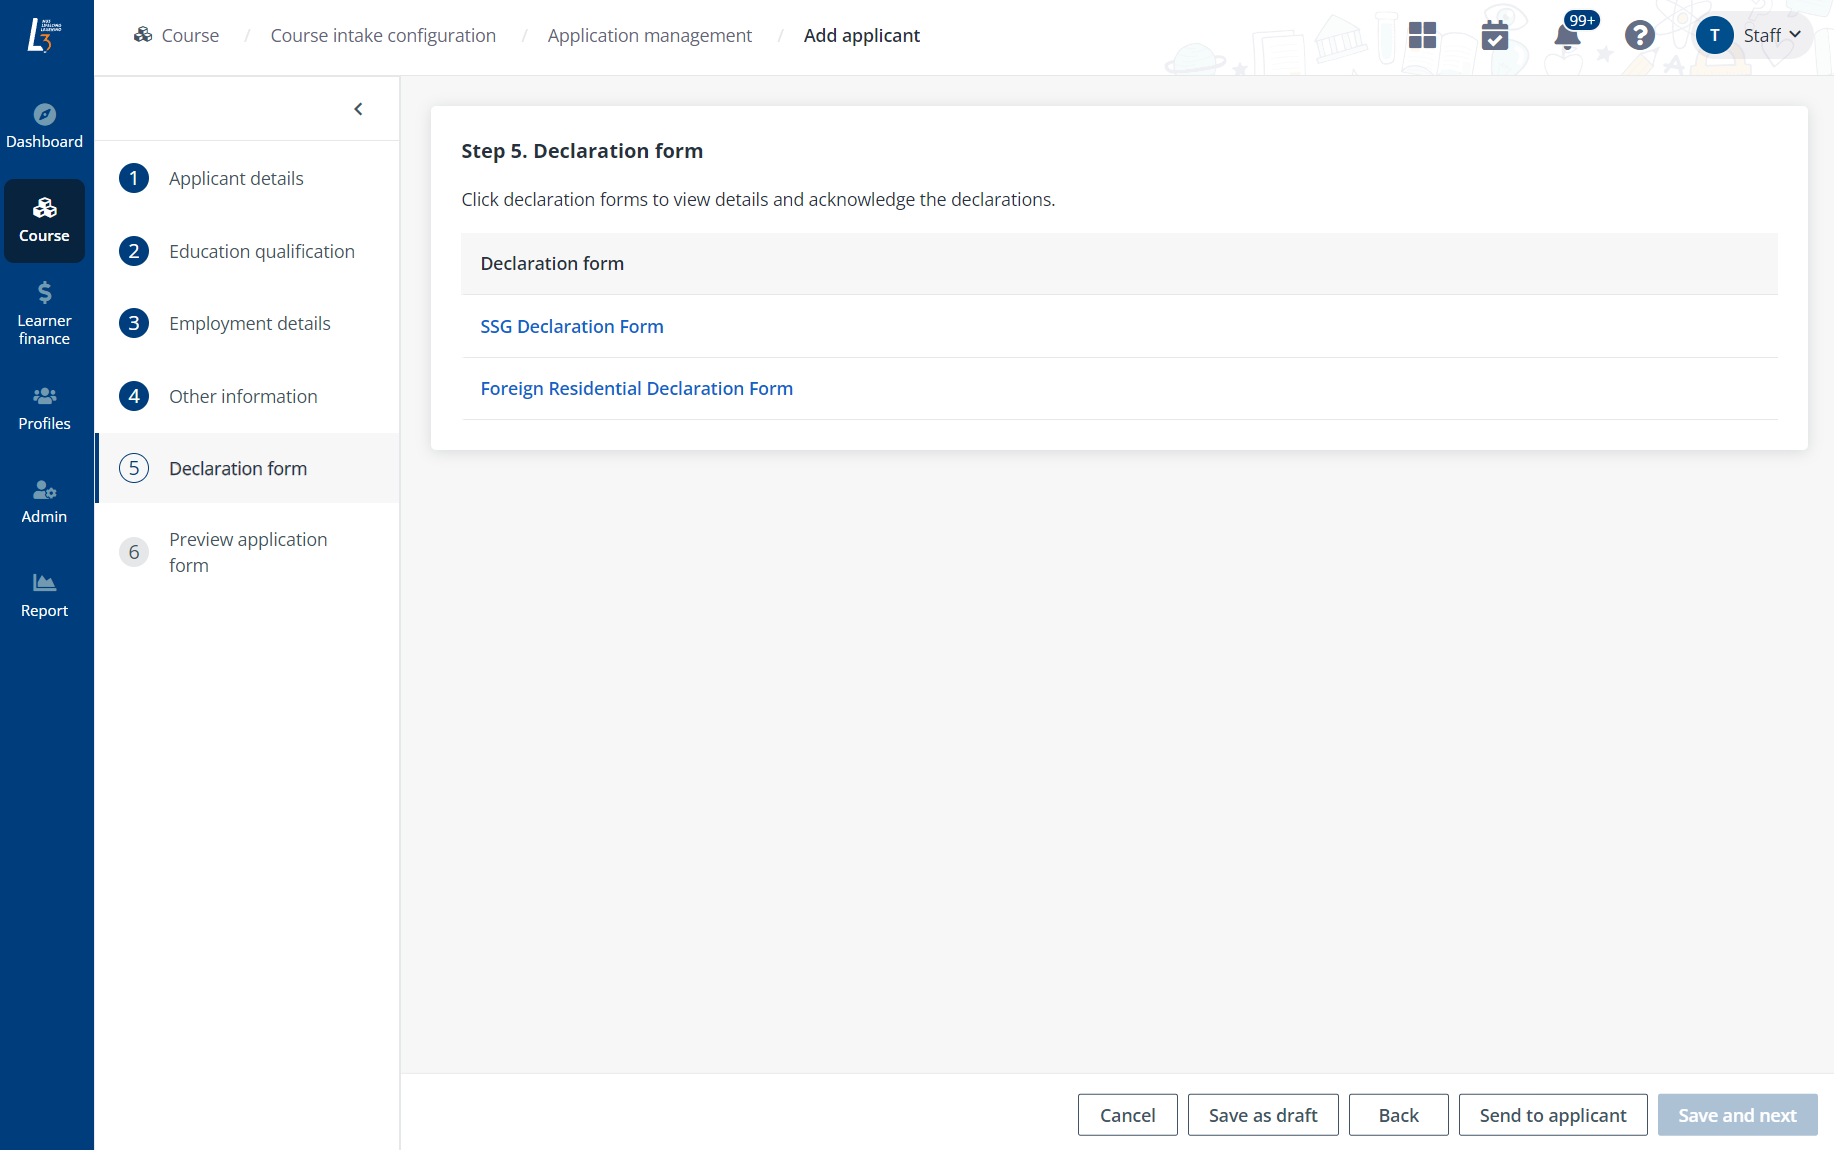
10. In Declaration form step, click Send to applicant in the lower-right corner to send the forms to applicant to view and acknowledge.
•In Preview application, view and check the applicant information. Click Confirm & pay later to save the application as draft and complete the payment later. When the course is a PUO (pay-upon-offer) course, click Submit. The application will be directly submitted, and the application needs to be evaluated in the Pending evaluation tab on the Application management page.
•When the course is a PUA (pay-upon-application) course, click Confirm & pay later to save the application as draft and complete the payment later. Click Confirm & pay now to proceed to the next step.
11. In Course-mod selection, view the course-mods required to complete for the course and select the optional course-mods. Where the funding is available, admin can choose whether to use it on behalf of the learner.
Click View course fee to view the fees required for the course.
12. Click Confirm to go to the Payment summary to pay for the applicant.